AI Product Photo Backgrounds: What to Check Before Client Delivery
· FlashFilm Academy
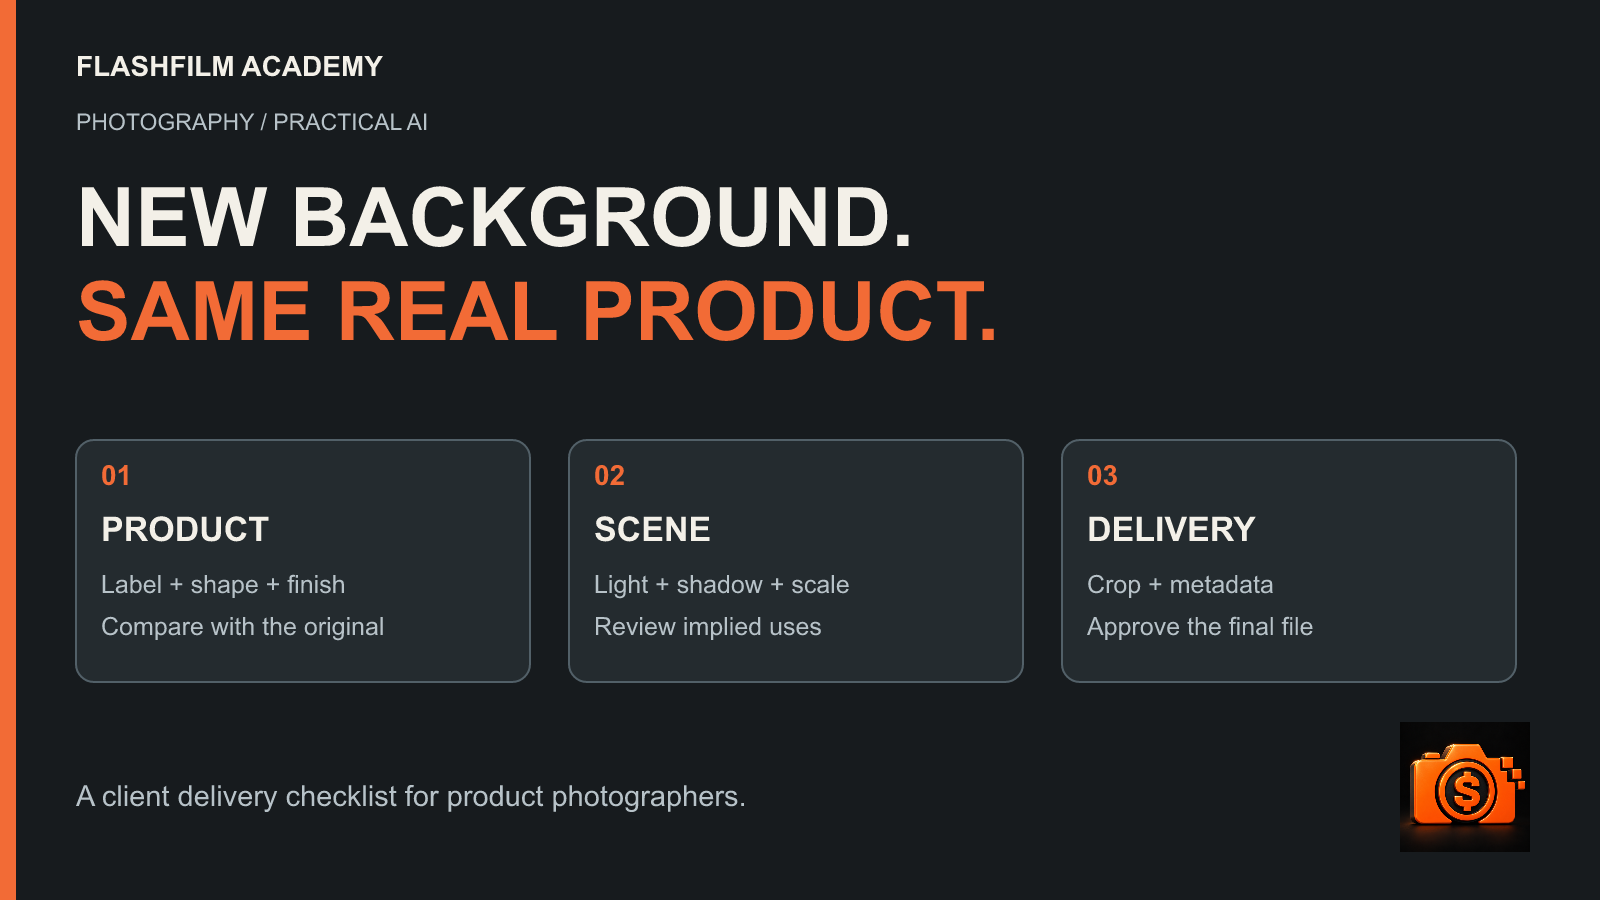
Before delivering a product photo with an AI-generated background, compare it with the original photograph and the actual product. Check the label, shape, color, edges, reflections and apparent size; confirm that the scene does not suggest an unapproved use or included accessory; then review the final export with the client. A convincing background is only useful when the product still looks like what the customer will receive.
For photographers serving small businesses, this is a quality-control task with a clear scope: approve the environment around a real product without quietly redesigning the product itself. Use the workflow below for client review, whether you generate a background in an editing application or composite a separately created scene.
Agree on the allowed changes before editing
Ask the client where the image will appear: a storefront listing, a website banner, an organic social post or another placement. Those destinations can have different background, crop and metadata requirements. Confirm the current rules for the actual destination before promising one file that works everywhere.
Write a short change boundary. For example: “Replace the background and adjust the contact shadow. Preserve the photographed jar, lid, label wording, package quantity and product color.” Separately identify any requested retouching, such as removing dust from the shooting surface. The client should understand what is photographed, generated and manually edited.
Approve one direction before making a full batch. A reference for a pale studio surface does not authorize a beach, a bathroom shelf or a fictional shop. Keep rejected directions out of the delivery folder so an attractive concept does not get mistaken for an approved final.
Keep a trustworthy original to compare against
Save the unaltered capture, your working file and a reference showing the real product. Record the SKU or another reliable identifier. If the client supplied the image, ask which version of the package is current and whether the supplied reference may be uploaded to your chosen service. Follow the client's confidentiality and tool-use requirements.
An AI background cannot repair missing evidence about the product. If the label is unreadable in the original, obtain a clearer photograph instead of asking a model to invent the lettering. If the back of the object was never photographed, do not assume a generated rear view documents it accurately.
For a larger catalog, use our workflow for consistent product photos to establish a repeatable capture reference. This article adds a separate checkpoint: what must survive when the environment is changed after the shoot.
Check the product before judging the background
Review the source and edited version side by side, first at full-image size and then closely enough to inspect details. A neat overall composition can hide a changed cap, missing seam or distorted brand mark.
- Read the label, logo, quantity, size and model identifier against the source. Look for altered characters, repeated marks and missing fine print.
- Compare the silhouette, lid, handle, opening, seams and visible construction. Count repeated elements where that matters.
- Inspect the edge mask, including transparent sections, holes, fine fibers and reflective surfaces. Look for halos, clipped edges and background color leaking onto the product.
- Compare the finish and color with an agreed reference. Do not approve a different material or promise an exact color match from an uncontrolled phone display.
- Check which items appear with the product. A prop can look like an included accessory or imply a size relationship that the client never approved.
These are production checks, not a claim that a particular model will always change those details. Even when an editing tool appears to preserve the foreground, inspect its actual output rather than treating the instruction to “keep the product unchanged” as verification.
Make the environment physically believable
Look at the contact point: does the object rest on the surface, or appear to float? Does the shadow begin where it should? Compare the direction, softness and color of the scene's light with the photographed light on the product. A bright window behind the subject does not explain a strong frontal reflection by itself.
Then inspect perspective and scale. A tiny package should not appear larger than a nearby chair unless that is an explicitly approved creative treatment. A tabletop horizon, shelf angle or mirror reflection can reveal a mismatch even when the product cutout is clean.
Check the setting's meaning as well as its appearance. A generated splash can imply that a product tolerates water; a cooking scene can suggest a use that the client has not confirmed. Ask the client to approve those implications. When you cannot make the composite coherent, use a simpler background or reshoot with the intended lighting.
Adobe's Generate Background documentation describes creating backgrounds intended to match a subject's lighting, shadows and perspective. That describes the feature's purpose; it is still your responsibility to review the result. This checklist is not a substitute for testing your application and version.
Example: one jar, two review stages
Imagine a fictional skincare client supplying a current front-view photograph of a 50 ml jar. The approved request is a warm, neutral bathroom-shelf background for a website banner. The label and jar must remain unchanged, and no additional products are included.
At the first review, send a clearly labeled concept with the source photograph beside it. Ask the client to approve the setting, the empty space for website copy and whether the surrounding props fit the brand. Do not call that approval of the final retouch.
At the final review, inspect the specific exported file. Confirm that “50 ml” remains legible, the lid is the same shape, the jar sits on the shelf and the new reflection does not cover important wording. Check the banner crop at its expected display size. If the export cuts through the cap or makes the label illegible, revise the crop before delivery.
Record an approval such as: “JAR-050_banner_v03.jpg approved for the website banner; photographed product with generated background.” An approval tied to a filename and placement is more useful than “looks good” on an unlabeled preview. This is a suggested workflow, not an account of an Academy client's results.
Check the export and preserve relevant metadata
Open the delivered file itself, not only the layered working document. Check dimensions, crop, sharpness, color appearance, naming and access to the download. Keep the product identifier traceable through revisions. Deliver alternate aspect ratios as separate, checked files when those are part of the agreed scope.
For Google Merchant Center destinations, review Google's current AI-generated content requirements. Its guidance requires AI-generation metadata and says not to remove embedded digital-source tags, including those identifying composites with synthetic elements. Ask the person managing the feed to check the final exported and uploaded asset. Do not assume that an ordinary web export preserves every required field, or that client approval guarantees platform acceptance.
Content Credentials can help explain an image's provenance. The Content Authenticity Initiative's introduction to Content Credentials makes an important distinction: successful validation does not establish that the depicted subject is factually true. Keep visual comparison, product information and client approval in the workflow even when credentials are present.
A short final approval note
Send the client a concise record containing the final filename, intended placement, a description of the generated changes and any unresolved question. For example: “Please approve JAR-050_banner_v03.jpg for the homepage banner. The jar is photographed; the shelf environment is generated. Please confirm the current packaging and that the displayed props are appropriate.”
If a material product detail remains uncertain, hold that file for clarification. Keep a record of the approved version and send the same file through the agreed delivery route. A new background, new crop or changed package may require another review.
Common questions
Is a better prompt enough to preserve the product?
No. A clear instruction defines the goal, but the finished pixels are the evidence. Compare the edited file with the original and correct or reject changes that fall outside the brief.
Should the client review only a small preview?
Use both a placement-size preview and a file large enough to inspect product details. The small view reveals crop and readability problems; the detailed view helps reveal edge, lettering and construction errors. State which file is final.
Can I use the same generated background across a catalog?
You can build a consistent direction, but check each composite. Different product sizes, reflective materials and camera angles can require different treatment. Approve a representative test before extending the approach, then inspect every final item.
Put the checklist into your next client project
Start before the edit: collect the actual product reference, destination requirements and open decisions. Get the ten free FlashFilm Academy Prompt Kits and choose the Shoot-Day Readiness Checklist to organize preparation for the source photographs. These are prompts and worksheets, not an automatic product-accuracy checker; review AI suggestions against real evidence.
No paid membership is required for the free kits. Create or sign into your Academy account, opt into Academy marketing emails for new free-resource access and confirm your subscription when prompted. You can unsubscribe anytime. Existing members can open the Prompt Kits space with their account.
For structured creative training and community support as you build a dependable client workflow, explore FlashFilm Academy's monthly and annual membership. Paid courses and community access are separate from the free kits.
YOUR NEXT STEP · START FREE
Turn your creative skills into a clearer offer.
Join AI to Client, our free 5-day challenge for photographers and videographers. Work on your offer, research potential buyers and prepare a client conversation.
Start AI to Client freeEnter your email for a free community access invitation and Academy emails. Unsubscribe anytime. Already a member? Open this resource with your existing account.
Build on your first step with structured training and community. Explore Academy membership.
Join the conversation.
Read along, ask a question, or share your experience. Comments are open to active FlashFilm Academy members.
Loading comments…