How to Keep Product Photos Consistent Across a Catalog
· Ty Turner
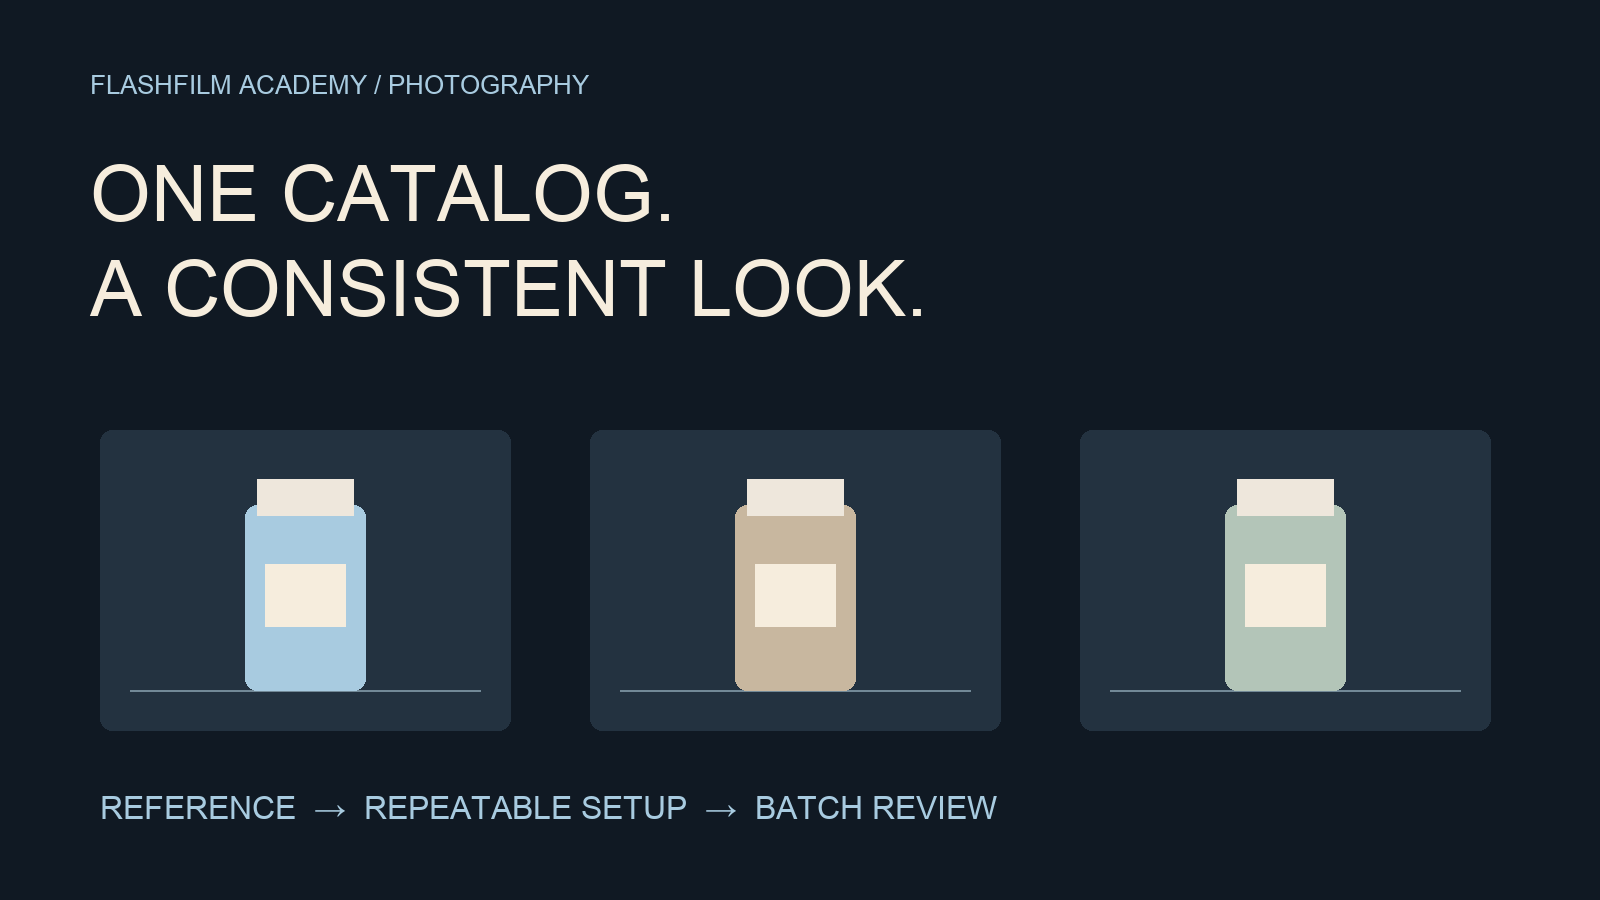
To keep product photos consistent across a catalog, approve one reference image, document the camera and lighting setup, and compare each new product against the same framing, color, and shadow standards. Check a small batch before photographing the full range. Consistency comes from a repeatable capture process and deliberate review, not simply applying one editing preset to every file.
This workflow is for photographers creating product listings for small businesses. It focuses on matching a series of images, rather than choosing equipment or promising a particular sales result.
Start with a reference the client can approve
Before the main shoot, agree on what the catalog should look like. Ask where the images will appear, whether products need a pure white or styled background, which views are required, and how tightly the final layout crops each image. Check the destination's current image requirements instead of assuming every store uses the same specifications.
Create one representative test image and review it at both full size and the likely listing size. A label that looks sharp when enlarged may become unreadable in a small product card. Confirm the desired amount of space around the product and whether the shadow should be visible.
Save the approved image with a clear filename and date. Keep an unambiguous note of who approved it and what it establishes: lighting, crop, background, or all three. A mood board can guide the style, but it is not a substitute for an achievable reference from your actual setup.
Document the geometry before the first batch
Record the camera height, focal length, approximate camera-to-product distance, and product position. Mark tripod feet, the shooting surface, and light stands where practical. Photograph the setup from the side and above, and write down light settings and modifier positions.
Keep a repeatable alignment point. For a row of similar bottles, that might be the center of the base and the direction of the label. For products with different shapes, define what should remain consistent rather than forcing every item into an identical pose.
Decide how size will be represented. Filling the frame equally with a tiny jar and a large container can make their relative sizes unclear when displayed together. Ask whether the client wants a uniform visual footprint or a meaningful size comparison, then document that choice.
Control color without treating white balance as a cure-all
Avoid changing the mixture of light sources halfway through a batch. If daylight is contributing to the scene, its changes can make later frames look different. Use a neutral reference under the same illumination as the product, and repeat the reference capture when the lighting changes.
Nikon explains that preset white balance can be measured using a neutral target and that the method varies by camera. Follow your camera's instructions rather than copying a button sequence from another model. A consistent white-balance approach gives you a useful starting point; it does not guarantee that every material or brand color will reproduce perfectly.
Source: Nikon: Setting White Balance — https://www.nikonusa.com/learn-and-explore/c/tips-and-techniques/setting-white-balance.
For color-sensitive work, agree on how the client will review color and compare against the actual product under appropriate viewing conditions. Do not promise exact color matching from an uncalibrated phone screen.
Test exposure, focus, and reflections on each material
Under stable lighting, manual exposure can help prevent the camera from changing brightness merely because you substituted a dark product for a light one. Still inspect the actual image. A glossy package may create a bright reflection that was absent from the matte reference product.
Check the label, edges, and important texture at a useful magnification. Choose depth of field for the product's shape and the required view; there is no single aperture that solves every catalog. If you change camera position or product distance, recheck focus and framing.
Use flags, reflectors, or adjustments to the light's position to control reflections deliberately. Record any exception so you can repeat it for similar products. The aim is a coherent collection, not identical settings at the expense of a readable label.
Review a small batch before committing to the whole catalog
Photograph a few representative items: one light, one dark, and one with a difficult reflective surface if those exist in the range. Compare them side by side with the approved reference. Look for drifting product height, background brightness, uneven margins, inconsistent shadows, and changes in color.
Tethered capture can help you inspect images on a larger screen during the shoot. Adobe documents Lightroom Classic's tethered workflow, including session naming and image destinations. Compatibility depends on your camera and software, so check support and test the connection before the client session. Tethering is optional; a deliberate card-import review can serve the same checkpoint if that better fits your setup.
Source: Adobe: Import photos from a tethered camera — https://helpx.adobe.com/lightroom-classic/desktop/import-photos/import-photos-tethered-camera.html.
Only expand the batch once the test passes. Fixing a shifted camera position after three products is simpler than discovering it after the entire range has been photographed.
Build a product-to-file checklist
Give each product a reliable identifier, such as the client's SKU, and match it to the required views. For example, JAR-014_front_01 and JAR-014_detail_01 communicate more than an unexplained camera filename. Preserve the originals and keep any renaming process traceable.
Track each item through captured, selected, edited, checked, and delivered. Add a notes column for missing samples, packaging damage, or an approved exception. Check the identifier against the physical item before it leaves the set.
A simple working rule is to finish and verify one product's required views before marking that item complete. If the shoot is organized by camera angle instead, use the checklist to prevent products from missing a view when the setup changes.
Match the collection during editing and export
Start from a representative image, then apply shared adjustments only where they fit. Review exceptions individually. A crop, mask, or correction that works for one shape may fail on another.
Inspect a contact sheet as well as individual files. The contact sheet exposes inconsistent margins and brightness; the individual view reveals dust, focus errors, and damaged details. Keep retouching faithful to the product and the agreed brief, especially where a mark or texture is part of what the customer will receive.
Once the images match, export to the client's actual destination requirements. Our client photo export checklist — https://flashfilmacademy.com/news/export-client-photos-for-websites covers the next stage: preparing files for website delivery.
Common questions
Can I use window light for a consistent catalog?
Yes, but you need to manage changes. Compare new frames to your reference, pause when the light changes significantly, and recapture your neutral reference when needed. A setup that changes throughout the day requires more monitoring than a controlled, repeatable light source.
Should every product use the same settings?
Use shared settings where they support the approved look, but inspect every product. Reflective, transparent, and differently sized items may need adjustments. Log those changes rather than pretending one recipe fits the whole range.
Can a preset make inconsistent photos match?
A preset can provide a common starting point. It cannot correct every difference in light direction, perspective, product position, or focus. Solve those problems during capture when possible.
Turn the setup into a repeatable service
Save the reference image, setup photos, product checklist, and delivery specifications together. When the client adds products later, use that record to rebuild the look and compare a new test before photographing the next batch.
Practice with three products you already own. Make a reference, document the setup, and try rebuilding it on another day. Bring your comparison and your questions to the FlashFilm Academy community — https://flashfilm.academy/ to develop the habits behind dependable client work.
Join the conversation.
Read along, ask a question, or share your experience. Comments are open to active FlashFilm Academy members.
Loading comments…