How to Record Room Tone for Cleaner Interview Edits
· Ty Turner
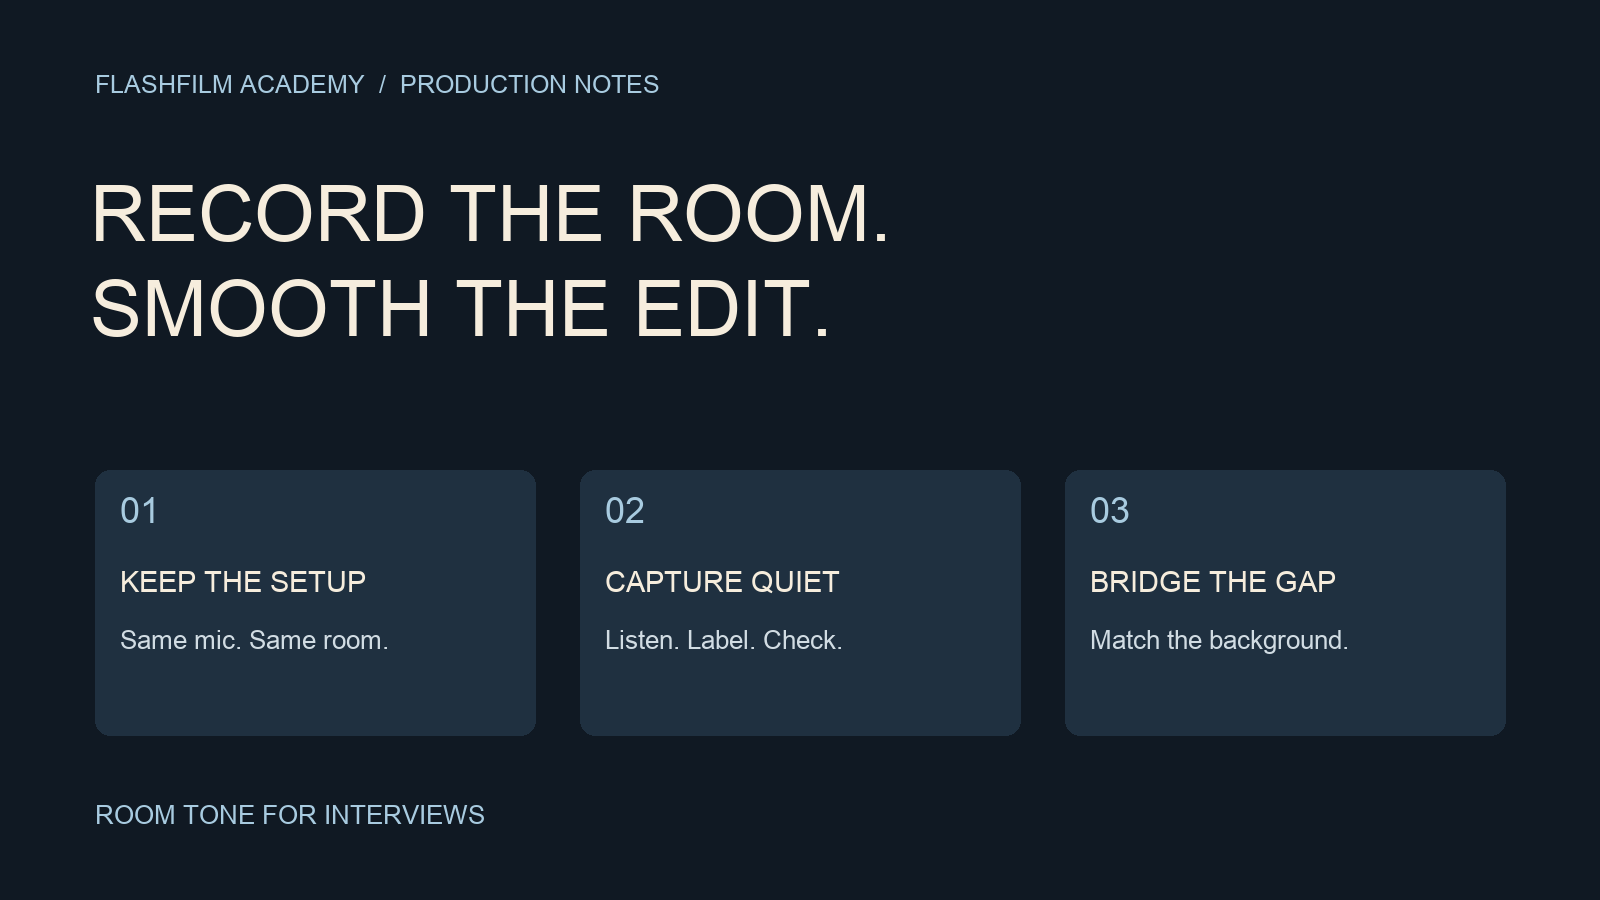
To record room tone for an interview, keep the microphone, recording settings, people, and room conditions consistent with the dialogue setup, then capture a stretch with nobody speaking or moving. Label that recording so your editor can match it to the correct interview. Use suitable portions to fill gaps and smooth transitions, rather than replacing pauses with abrupt digital silence.
This guide is for filmmakers recording customer testimonials, corporate interviews, and other spoken-word videos. The goal is a background that feels continuous while the conversation remains natural.
What is room tone, and why does your editor need it?
Room tone is the sound of a location when the intended speakers are quiet: the low air-conditioning bed, distant traffic, and other background sound the microphone captures. It is not necessarily silence, and it is not a recording of someone demonstrating the room's echo.
When you shorten an answer, removing everything between two phrases can also remove the background. The sudden drop and return can expose the edit. A matching piece of room tone gives you material to bridge that gap. Marc Sophos's public-radio interview recording guide describes using room tone when splicing dialogue; the broader lesson is to preserve an audible environment around the words.
Source: Recording High Quality Interviews at Home, Marc Sophos — https://wdfh.org/grc2020/document-grc2020-remote-recording-marc-sophos-outcasting-media.pdf.
1. Choose the dialogue setup before recording the background
Make the interview sound as good as you can first. Listen through headphones while the subject speaks at their normal level. Check for clothing rustle, chair squeaks, distracting reflections, and sounds you might not notice while concentrating on the picture.
RØDE's interview-audio guidance emphasizes capturing clear speech while reducing unwanted surrounding noise. Room tone serves the edit; it does not make a poor microphone position or a noisy location harmless.
Source: RØDE: How to Record Better Interview Audio — https://rode.com/en-nl/about/news-info/how-to-record-better-interview-audio.
For a small business interview, compare two practical positions before settling in. A visually attractive corner next to a refrigerator may be less useful than a quieter background a few feet away. Record a short spoken test and play it back before committing to the location.
2. Keep the recording conditions consistent
After an interview segment, leave the microphone where it was. Keep the subject seated, and ask the crew to remain still. Preserve the settings used for the dialogue. If you recorded separate boom and lavalier tracks, capture room tone on those tracks too.
Do not switch off a fan only for the room-tone recording if it was running throughout the interview. That produces a different background. If an appliance can safely be switched off with permission before the interview, do that first and keep the setup consistent.
If the microphone moves, the location changes, or a major background sound changes, record a new matching sample. Treat each distinct setup as its own sound environment.
3. Ask for a useful stretch of quiet
Use a simple instruction: “Please stay seated and still. We're recording the sound of this room for the edit. I'll let you know when we're done.” Give that instruction before the quiet section begins.
As a practical starting point, aim for 30 to 60 seconds of usable background. That is a planning recommendation, not a universal production standard. A changing environment may need longer captures or several samples. The useful duration excludes coughs, instructions, footsteps, and other interruptions.
Continue monitoring. If a door slams, note it and capture another clean section. Do not assume a quiet-looking waveform is a good recording; listen to the actual file before packing up.
4. Label it for the person editing
A useful filename might be Interview_A_Office_Boom_RoomTone_01.wav. Use your project's naming system, and preserve the original recordings alongside any renamed working copies.
Add a brief production note: subject and location, microphone or track, approximate time, and any relevant condition such as “air conditioner on, door closed.” If there are multiple interview setups, keep a separate entry for each.
The editor should be able to answer three questions without guessing: which interview does this belong to, which microphone captured it, and what changed between this sample and the dialogue?
5. Use it carefully in the edit
Start with a small gap between phrases. Select a room-tone segment without a distinctive transient, place it in the gap, and listen to the joins. Adjust its level and use short fades where needed so the background does not suddenly jump or disappear.
Do not stack a second background bed under all the existing dialogue by default. The dialogue already contains location sound; adding more can make the overall noise more noticeable. Use only the material the particular edit needs.
Avoid an obvious repeating sound when extending a sample. A distant beep or chair creak copied several times can become more distracting than the original gap. Check the transition at normal playback speed with the adjacent sentences, not only as a tiny isolated loop.
If you apply dialogue processing, compare the processed background with the inserted material. They may no longer match. Keep the unprocessed originals so you can change the approach without losing your source.
Example: shortening a customer testimonial
Imagine a customer pauses after saying, “We were missing delivery deadlines,” then continues with the result of a new process. You want to shorten the pause while preserving the speaker's meaning and natural rhythm.
Keep enough breathing space to avoid making the sentence sound rushed. Fill any exposed gap with matching room tone, then listen with the picture. If you cover the visual cut with B-roll, the audio transition still needs attention; changing the image does not hide a sudden change in background sound.
For the visual side of that workflow, read How to Turn an Interview Transcript Into a B-Roll Shot List With AI — https://flashfilmacademy.com/news/ai-interview-transcript-b-roll-shot-list.
Common questions about room tone
Can I use a sample from another room?
You can audition it, but do not assume it will match. Different locations and microphone positions can produce noticeably different backgrounds. A clean sample from the actual setup is a better starting point.
Can room tone repair clipped or distorted speech?
No. Filling a background gap does not restore damaged words. If you hear a recording problem on location, address the cause and ask for another take when possible.
What if I forgot to record it?
Listen for usable quiet portions in the original takes, including before or after an answer. Check for breaths, rustles, and changing background sounds. If you find suitable material, label it and test the joins. Do not assume an automated repair will recreate exactly what was missing.
Make it part of your interview wrap checklist
Before releasing the subject, check the spoken recording, capture matching room tone, and confirm that files are identifiable. Practice by editing a short answer once with an empty audio gap and once with carefully matched room tone. Listen for the difference.
Bring your interview-audio questions and an example you have permission to share to the FlashFilm Academy community — https://flashfilm.academy/. Build the production habits that make your next client project easier to finish.
Join the conversation.
Read along, ask a question, or share your experience. Comments are open to active FlashFilm Academy members.
Loading comments…