How to Reduce Lavalier Mic Clothing Noise in Interviews
· Ty Turner
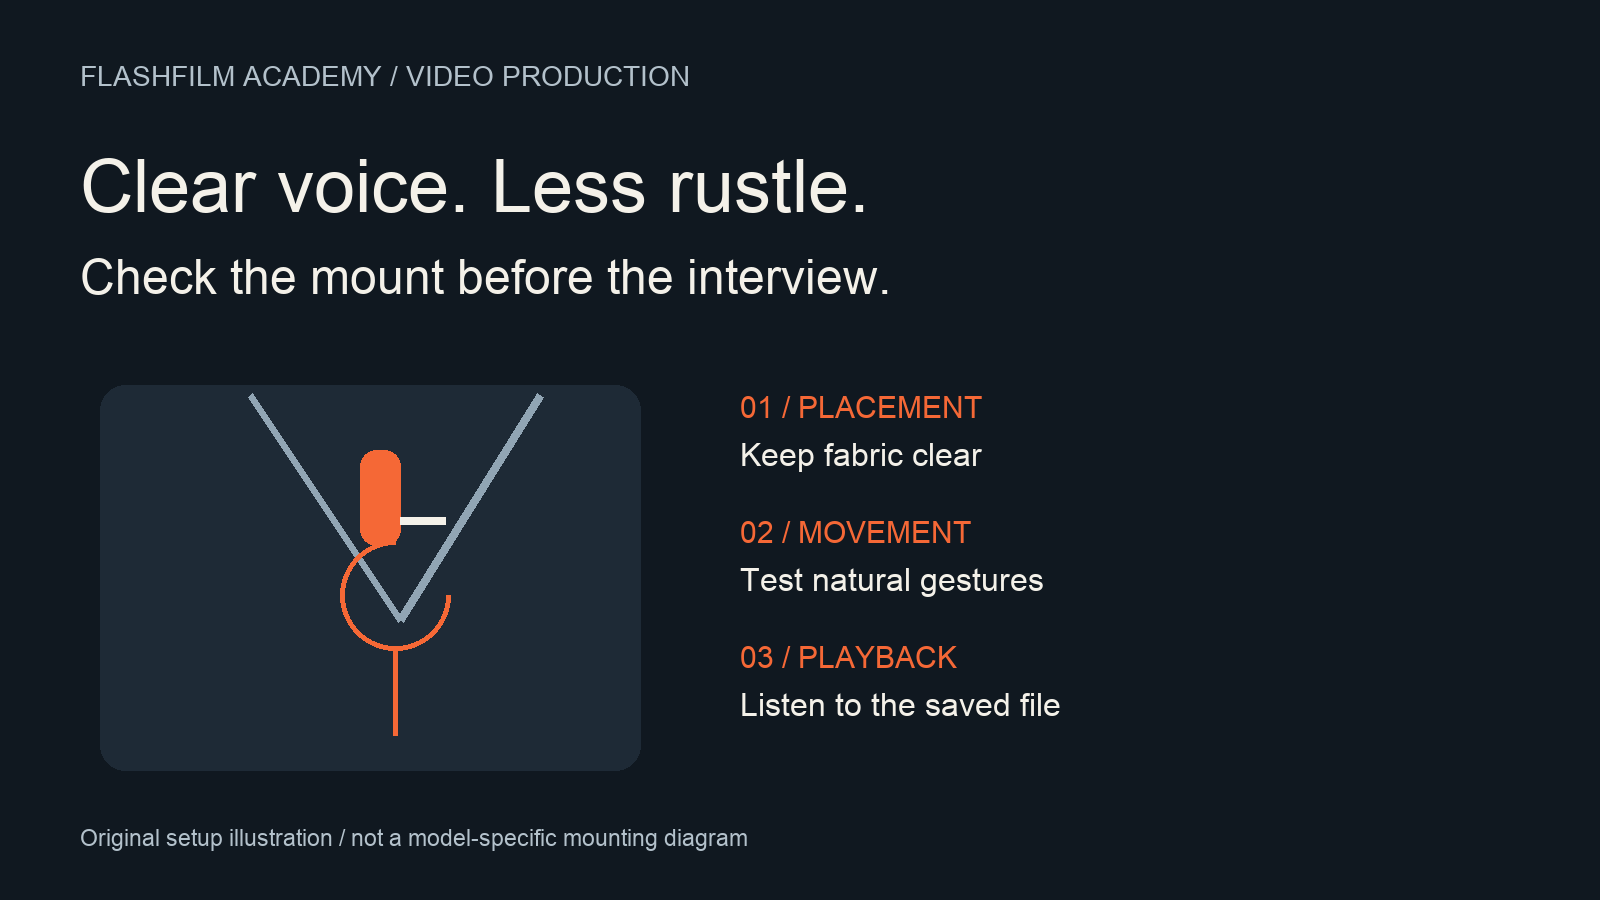
To reduce clothing noise from a lavalier microphone, keep fabric and jewelry from touching the microphone, secure the cable so normal movement does not pull on the mount, and record a movement test before the interview. Listen to the recording with headphones. If the noise remains, change the placement, clothing arrangement, or microphone approach before recording important answers.
A lavalier, also called a lapel microphone, is useful for interviews because it can stay close to the speaker. That convenience comes with a practical challenge: the microphone shares space with collars, jackets, necklaces, and moving fabric. This guide focuses on preventing those noises during a seated business interview, rather than promising that editing software can remove them later.
1. Identify the noise before changing settings
Ask the speaker to say a few sentences while sitting normally. Then ask them to turn toward the interviewer, gesture, and lean back as they naturally would. Listen for when the noise occurs. A scratch that follows a jacket movement deserves a different investigation from steady room ventilation or a wireless dropout.
Check the microphone capsule, its clip, nearby fabric, and the cable route. Change one thing at a time, then repeat the same movement. This helps establish whether your adjustment actually improved the problem. Simply lowering the recording level can make both the voice and the noise quieter without improving their relationship.
Use a brief written note if the problem is intermittent: “Scratch when turning left; jacket touches clip.” A specific observation is more useful than “audio sounds bad” when another crew member helps troubleshoot.
2. Start with a clear, stable mounting position
Look for a stable clothing edge that keeps the microphone clear of other material. RØDE's placement guide identifies jacket lapels, shirt seams, and ties as mounting options, and warns that nearby clothing rubbing against the microphone will be audible. Its general chest-placement starting point is about 20–30 centimeters from the mouth; treat that as guidance to test with your particular microphone, voice, and clothing.
Source: RØDE, How To Use a Lavalier Mic — https://rode.com/en-us/about/news-info/how-to-use-a-lavalier-mic
For a business interview, a visible microphone may be the simplest workable choice if the agreed visual style permits it. Check the camera frame and the sound together. A neat-looking placement is not successful if it produces noise whenever the speaker turns their head.
Explain the adjustment before touching someone's clothing and let them help position the microphone if they prefer. Avoid improvising adhesives on skin or delicate clothing. Use mounting materials appropriate to the surface and follow their instructions.
3. Give the cable a controlled route
Check whether a loose cable is moving against the clothing or pulling on the microphone. Support it using the microphone's intended clip or suitable mounting accessories, leaving enough slack for comfortable movement. Avoid a tight route that tugs when the subject sits down or turns.
Move the subject into the actual interview position before deciding that the cable route works. A setup that is quiet while standing may change when a jacket folds against the chair. Check that the transmitter or recorder is secure and comfortable, and that connectors are seated according to the equipment's instructions.
Do not confuse hiding the cable with hiding the capsule. You may be able to keep the cable out of frame while leaving the microphone exposed and clear of fabric. That can simplify the sound check without changing the overall interview composition.
4. Test the clothing and accessories that will stay in the shot
Ask the subject to wear the jacket, scarf, or necklace exactly as they will during the interview. Check whether an accessory reaches the microphone when they lean forward. Listen for fabric noise during normal gestures, even when nothing appears to touch the capsule directly.
If an item causes a problem, explain what you hear and offer a practical choice. You might reposition the microphone, adjust an overlapping layer, or ask whether a noisy accessory can be set aside. Keep the subject comfortable and preserve the client's intended appearance where possible.
For a fictional company interview, imagine that a guest's jacket sounds quiet while they face forward but brushes the microphone when they address the interviewer. Moving the clip and repeating that same turn gives you a meaningful comparison. Asking the guest to remain completely still throughout a conversation is usually a less useful production plan.
5. Record a short rehearsal, then play it back
Record normal speech, a louder phrase, and the movements you expect during the conversation. Monitor the signal while recording, then play back the actual file. Confirm that the recorder captured the intended microphone and channel, rather than assuming the live headphone feed proves the saved recording is correct.
Listen at a comfortable level for clear words, intermittent scratches, bumps, and changes as the speaker moves. Check the device's recording meters and guidance for level setting. Do not apply a universal number from another setup without understanding your recorder and signal path.
Repeat the test after changing placement. A useful final check includes the speaker turning toward the interviewer, looking down briefly, and returning to a relaxed position. The goal is to test realistic behavior, not create an unusually careful performance that will disappear once the interview begins.
6. Have an alternative when the mount will not cooperate
If repeated adjustments do not produce usable sound, pause and change the approach. Depending on the location, framing, and available equipment, a properly positioned boom microphone or another unobtrusive placement may work better. Test the alternative before committing to the full interview.
When using more than one microphone, record separate tracks where the equipment allows and verify them individually. A second microphone is useful only if its own recording is usable; it is not automatic insurance against every problem in the room.
If noise spoils an important answer, note the point and ask for a pickup when appropriate. It is easier to request a short repeat while the speaker is still there than to discover an unusable sentence after the location has been cleared. Explain the reason briefly so the guest understands that the repeat addresses sound, not their performance.
7. Keep monitoring after the first clean test
Clothing and posture can change during an interview. Listen throughout the recording and recheck after a break, wardrobe adjustment, or microphone repositioning. An initially clean mount does not establish that every later answer is clean.
Record room tone as a separate part of your sound workflow, but do not treat it as a cure for clothing noise over speech. Our room-tone guide explains its role in smoother interview edits: https://flashfilmacademy.com/news/how-to-record-room-tone-interviews
Keep a concise audio note for the editor identifying any problem sections and available alternate takes. That turns an on-set observation into useful information instead of leaving the editor to discover every issue from scratch.
Frequently asked questions
Should I always hide the lavalier microphone?
No. Decide based on the visual brief and the sound test. A visible, cleanly mounted microphone can be preferable to a concealed placement that repeatedly produces distracting noise. If concealment is required, allow time and suitable accessories to test it properly.
Will a windshield stop clothing rustle?
Do not assume it will. Wind protection and contact with moving fabric are different concerns. Check the mount and repeat the movement test with the accessories you actually intend to use.
Can AI audio cleanup fix a noisy interview?
Treat cleanup as an option to evaluate on the actual recording, not a guaranteed rescue. Listen carefully to the processed voice and compare it with the original. When you can still correct the setup or record a clean pickup, do that before relying on later repair.
Build the sound check into your interview routine
Before the next guest arrives, add three checks to your setup list: clear the capsule, control the cable, and record realistic movement. Finish by listening to the saved file. Those steps give you evidence that the setup works under the conditions you are about to record.
Bring your interview setup question to the FlashFilm Academy community. Describe the microphone, clothing, movement, and noise you are hearing, and share only recordings you have permission to share. Join the community: https://flashfilm.academy/
Join the conversation.
Read along, ask a question, or share your experience. Comments are open to active FlashFilm Academy members.
Loading comments…