AI Storyboards for Client Videos: A Practical Approval Workflow
· Ty Turner
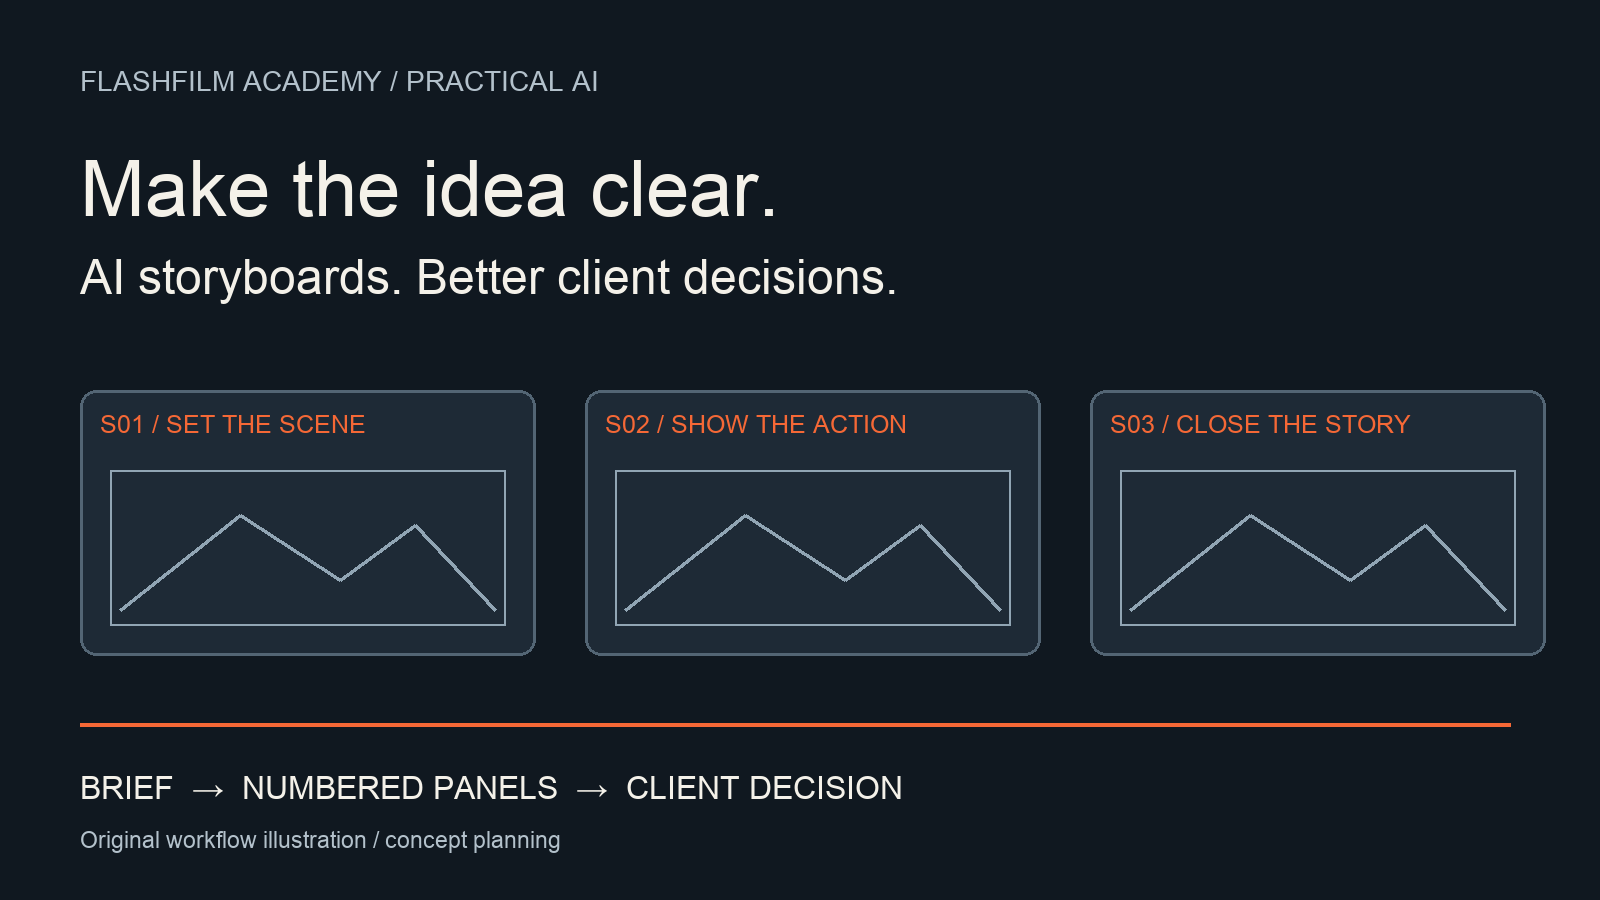
To use AI storyboards for a client video, start with an agreed brief, outline the essential story moments, and generate only the frames needed to explain those decisions. Label the images as concepts, check continuity and production feasibility, then ask the client to approve specific choices. A polished generated image is a planning aid; it is not proof that the scene has been filmed or that every detail can be delivered within the budget.
This workflow is for videographers and small creative teams planning a commercial, brand film, or short promotional video. Its purpose is to make the next client conversation more concrete before the crew arrives or final video generation begins.
1. Decide what the storyboard needs to resolve
Write down the audience, main message, intended viewer action, and delivery format. Then identify the visual questions still open: where the story starts, how the product appears, what the viewer must understand, and how the video ends. Do not generate a dozen attractive scenes before deciding what the client needs to approve.
A fictional bicycle repair shop might want a short video that encourages commuters to book a service. Its story could move from a rider noticing a problem, to a technician inspecting the bicycle, to the rider collecting it, and finally to a booking message. The example is a planning exercise, not a claim about an actual client campaign.
Define constraints alongside the idea. Record the available location, people, products, time, and equipment. Separate confirmed information from assumptions. If access to a workshop is unconfirmed, label that clearly instead of presenting its appearance as settled.
2. Outline the sequence in words first
Give each story moment a stable identifier such as S01, S02, and S03. Under each one, describe the visible action, the information it communicates, and any dialogue or on-screen text. This makes it possible to check the story before spending time generating images.
Keep one main decision per panel. A frame can establish the workshop, show a technician inspecting a wheel, or explain the closing composition. If a panel description contains several different actions and camera positions, split it or clarify which moment the image represents.
For the bicycle shop, S02 might read: “Medium view of the technician examining the front wheel; communicate careful inspection; no claim that a repair is already complete.” That sentence gives the image a purpose and prevents an impressive but irrelevant frame from taking over the concept.
3. Establish a visual reference before generating variations
Choose a simple visual language that helps the client assess the idea. Rough line drawings can be enough to discuss framing and action. Highly finished imagery may be useful for a look discussion, but it can also make incidental details seem like promises.
Use reference material you own or have permission to use in the chosen tool. For confidential client assets, check the approved handling process before uploading. A neutral placeholder can explain a composition while you wait for authorized product or location references.
Adobe's Firefly Boards tutorial demonstrates using a style reference and a starting scene image, then building successive panels with reference images. It also shows animating a panel to demonstrate a proposed camera movement. These are examples of available concepting techniques, not a guarantee that every generation will preserve every detail.
Source: Adobe Learn, Storyboard a commercial concept video in Firefly Boards — https://www.adobe.com/learn/firefly/web/create-commercial-storyboard-firefly-boards
4. Write a prompt around one shot decision
A useful prompt describes the subject, action, framing, setting, visual style, and constraints. Keep the core description stable when testing one change. If you change the person, location, camera angle, and lighting together, it becomes harder to understand which choice the client is responding to.
Example prompt: “Create a rough monochrome storyboard panel for S02. Medium view of a bicycle technician inspecting the front wheel at a repair stand in a compact workshop. Keep the bicycle and technician consistent with the authorized reference. Leave clear space at the bottom for a separate annotation. Show inspection only, with no invented branding or readable text.”
Treat this as a starting prompt, not a tested preset or a guaranteed result. Add the shot identifier, notes, and approved brand text separately so the client can read them reliably. If an image fails to communicate the intended action, simplify the panel rather than accepting it because it looks cinematic.
5. Check continuity and what you can actually produce
Review the panels as a sequence. Look for changes in clothing, product shape, room layout, screen direction, and the position of important objects. Ask whether the viewer can follow the action without reading your explanation. Keep a record of corrections instead of silently accepting contradictions between frames.
Then review each panel against the real production plan. Can the camera occupy that position? Is the location available? Does the movement require equipment or time you have not included? A generated image can suggest a shot without resolving the practical work needed to create it.
For the bicycle example, an overhead workshop image might communicate the environment beautifully. If the actual space cannot support that camera position, propose a feasible wide shot before the client approves the overhead concept. If the finished piece will use generated video, test difficult actions before promising that a still frame will translate into a usable moving shot.
6. Ask for approval of named choices
Present a dated, numbered board with short notes. State what the client is reviewing: story order, framing, product placement, visual tone, or the closing message. Also identify what remains provisional, such as casting, exact location details, or final timing.
A practical request is: “Please confirm the four story moments and the product placement in S03. These are illustrative concepts. The workshop layout is provisional, and final timing will be checked in the edit. Please reference panel IDs in any comments.” Adapt that language to the decisions and commitments of the actual project.
Consolidate feedback into one revision list and preserve the approved board version. If a later change affects production, discuss its effect on the plan before proceeding. For organizing review rounds and version approval, see our related guide: https://flashfilmacademy.com/news/client-video-review-workflow
7. Turn the approved concept into a working plan
Transfer approved decisions into your production documents. For each panel, list the required action, subject, location, props, audio needs, and unresolved questions. Assign someone to resolve each open item. Group the actual shoot efficiently rather than assuming the storyboard's story order must also be the filming order.
Use the board during production as a shared reference, while retaining room for better choices within the approved brief. Record meaningful departures so the editor and client understand why the finished sequence differs. The useful outcome is a clearer plan, not an obligation to reproduce every accidental detail of an AI image.
Frequently asked questions
Do I need an AI image for every shot?
No. Prioritize decisions that are difficult to explain in words, such as an unusual composition, transition, or product reveal. A text description or simple sketch can be enough for straightforward coverage.
Is a storyboard the same as a shot list?
For this workflow, the storyboard communicates the proposed visual sequence, while the shot list records what production needs to capture. Keep panel identifiers connected to the shot list so approved ideas can be traced into the shoot plan.
Can I present generated panels as finished work?
Label them accurately as generated concept illustrations. Do not imply that they show a completed shoot, an actual location, or a result you have already delivered. Explain which elements are intended direction and which are placeholders.
Practice with a small, clear brief
Choose a simple four-moment promotional concept and create a board that answers one visual question per panel. Review continuity, feasibility, and the approval notes before adding polish. You should be able to explain what each frame helps the client decide.
Bring your storyboard workflow or a sanitized concept to the FlashFilm Academy community for discussion. Use only material you have permission to share, and focus your question on the decision you need to improve. Join the community: https://flashfilm.academy/
Join the conversation.
Read along, ask a question, or share your experience. Comments are open to active FlashFilm Academy members.
Loading comments…