How to Reduce Glasses Glare in Professional Headshots
· Ty Turner
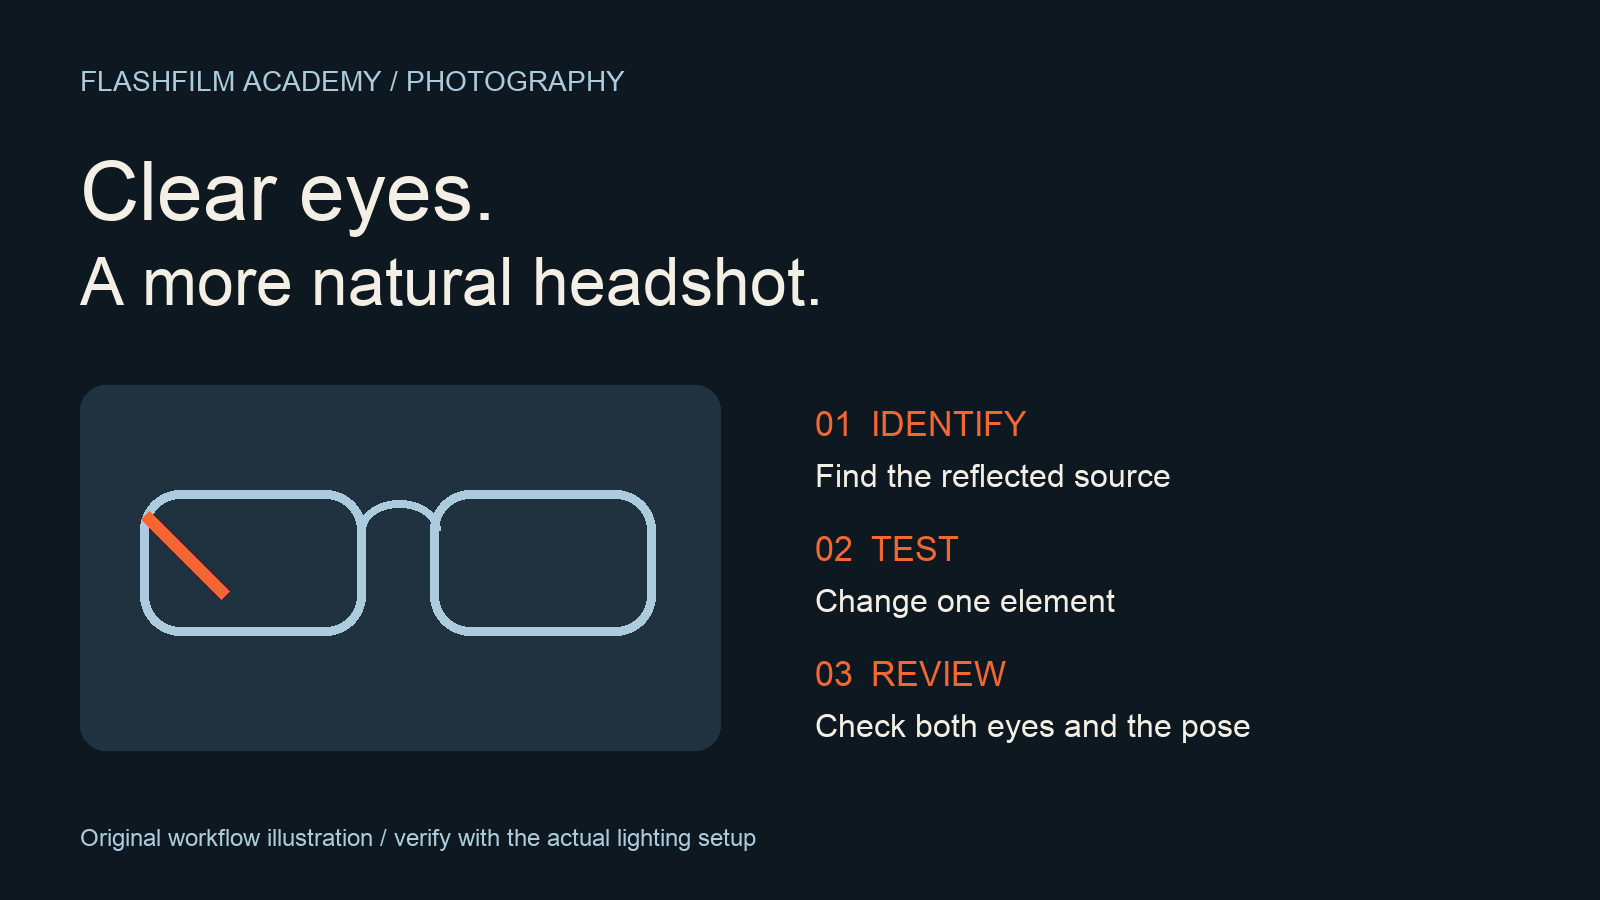
To reduce glasses glare in professional headshots, identify the reflected light, adjust its position, and check the eyes in a test photo. Change one element at a time. Repeat the check after your subject changes pose, and keep the lighting flattering as well as reflection-controlled.
This guide is for photographers delivering business headshots: an employee directory, a founder portrait, or a small team session. The goal is a recognizable, comfortable portrait with visible eyes. You do not need to ask someone to abandon the glasses they normally wear just to simplify your setup.
1. Agree on the portrait before adjusting the lights
Ask where the image will appear and whether the subject normally wears glasses at work. Confirm the intended crop and expression. For a team, use an approved reference portrait so you can judge the new image against the same visual brief.
Build a small capture checklist: glasses worn normally, eyes visible, expression comfortable, framing correct, and final selection recorded. Keep that checklist beside the camera or in the session notes. A technically clean frame is not useful if it misses the requested crop or makes the person look unlike themselves.
2. Find which source is reflected
Westcott educator Ashley Boring explains that changing the light angle, subject position, or camera position can redirect an unwanted reflection. Her demonstration also shows why a fill reflector deserves attention: the main light and the reflector can each create glare. Adjust one source at a time. Source: https://westcottu.com/capturing-subjects-with-glasses-using-the-eyelighter-2
Give each test a simple label in your notes, such as “main light only” or “main plus fill.” Inspect both lenses instead of assuming a correction on one side fixed the other. If you cannot tell which source created the bright patch, simplify the setup and add elements back deliberately.
3. Test a light adjustment, then judge the whole face
In Westcott’s example, raising the main light and lowering the reflecting fill resolved their respective reflections. Treat that as a starting experiment, not a fixed height for every face or pair of glasses. Head position also changes the result.
After each adjustment, make a test exposure and compare it with the previous one. Check eye visibility, skin exposure, shadows, and expression together. Do not approve an image solely because the glare disappeared. If the new lighting no longer fits the brief, keep testing before photographing the complete team.
Use clear, comfortable directions: “Stay relaxed; I am adjusting the light,” followed by a small pose suggestion if needed. Avoid asking the person to hold an awkward position through the session. Your process should make it easier for them to look engaged.
4. Recheck the poses you will actually deliver
A straight-on test does not approve every later pose. Capture the intended variations, such as a slight turn toward each shoulder, and review each one before moving on. Mark an acceptable setup and pose combination in your session notes.
For a team session, use a short reset routine between people: confirm the brief, check framing, take a test, inspect both eyes, then capture expressions. Keep the reference image available, but do not assume one person’s successful adjustment will work unchanged for the next.
5. Decide what needs retouching before promising it
Adobe describes selective adjustments and the Clone Stamp as options for reducing glasses glare in Photoshop. Those tools manipulate the image; they are not a guarantee that an obscured eye can be recovered faithfully. Inspect the actual file before committing to a repair. Source: https://www.adobe.com/products/photoshop/remove-glasses-glare.html
During selection, separate three outcomes: ready for normal finishing, needs a specific retouching review, or needs another capture. Explain any extra work clearly to the client. Preserve the original image and compare the finished result against it, especially around the eyes, frames, and lens edges.
If an AI edit invents eye detail or changes the person’s appearance, do not silently treat it as an accurate repair. Review the result with the subject or client under the agreed retouching scope. When the person is still on set, evaluate another capture before relying on a complicated reconstruction.
A practical example: a small business team session
Consider a fictional six-person consulting team that needs matching website portraits. Before the first appointment, prepare a reference crop and a five-item quality checklist. The first person wears glasses, and the initial frame shows a bright patch across one eye.
Label that frame as the baseline. Make one lighting change and shoot again. Compare the eyes and facial shadows, then test the two requested poses. Once a combination passes the checklist, capture expressions and record the selected frame numbers. Repeat the test for the next person rather than copying the first person’s pose instructions automatically.
A final check before building the proof gallery
Review the chosen images together. Can you see the eyes clearly? Are the glasses and facial features believable? Does the crop match the brief? Are exposure and overall style consistent across the team? Are any images waiting on a retouching decision?
Keep near-duplicates out of the client’s decision process unless they offer a useful expression or pose alternative. For the next step, read How to Select Client Photos for a Useful Proof Gallery: https://flashfilmacademy.com/news/cull-client-photos-proof-gallery
Frequently asked questions
Should I ask the person to remove their glasses?
Ask about their preference and the intended use. If glasses are part of their everyday professional appearance, plan the portrait around that. An optional alternative without glasses should be a choice, not a requirement imposed for your convenience.
Is there one light height that always removes glare?
No single height is established by the examples cited here. Test the actual person, glasses, camera position, and requested poses. Record the successful setup so you have a useful starting point for repeat sessions.
Should every small reflection be removed?
Judge the image against its purpose. Prioritize clear eyes and a natural result. Agree on the finishing standard with the client instead of promising a perfectly reflection-free surface at the expense of a believable portrait.
Practice the process before the next paid session
Use a willing practice subject to rehearse your test-and-review routine. Record what you changed and keep the comparison frames for your own learning. Share only images you have permission to share.
Bring your headshot lighting question to the FlashFilm Academy community, along with a description of your setup and what you have already tested. Join the community: https://flashfilm.academy/
Join the conversation.
Read along, ask a question, or share your experience. Comments are open to active FlashFilm Academy members.
Loading comments…