How to Fix LED Flicker in Interview Videos
· Ty Turner
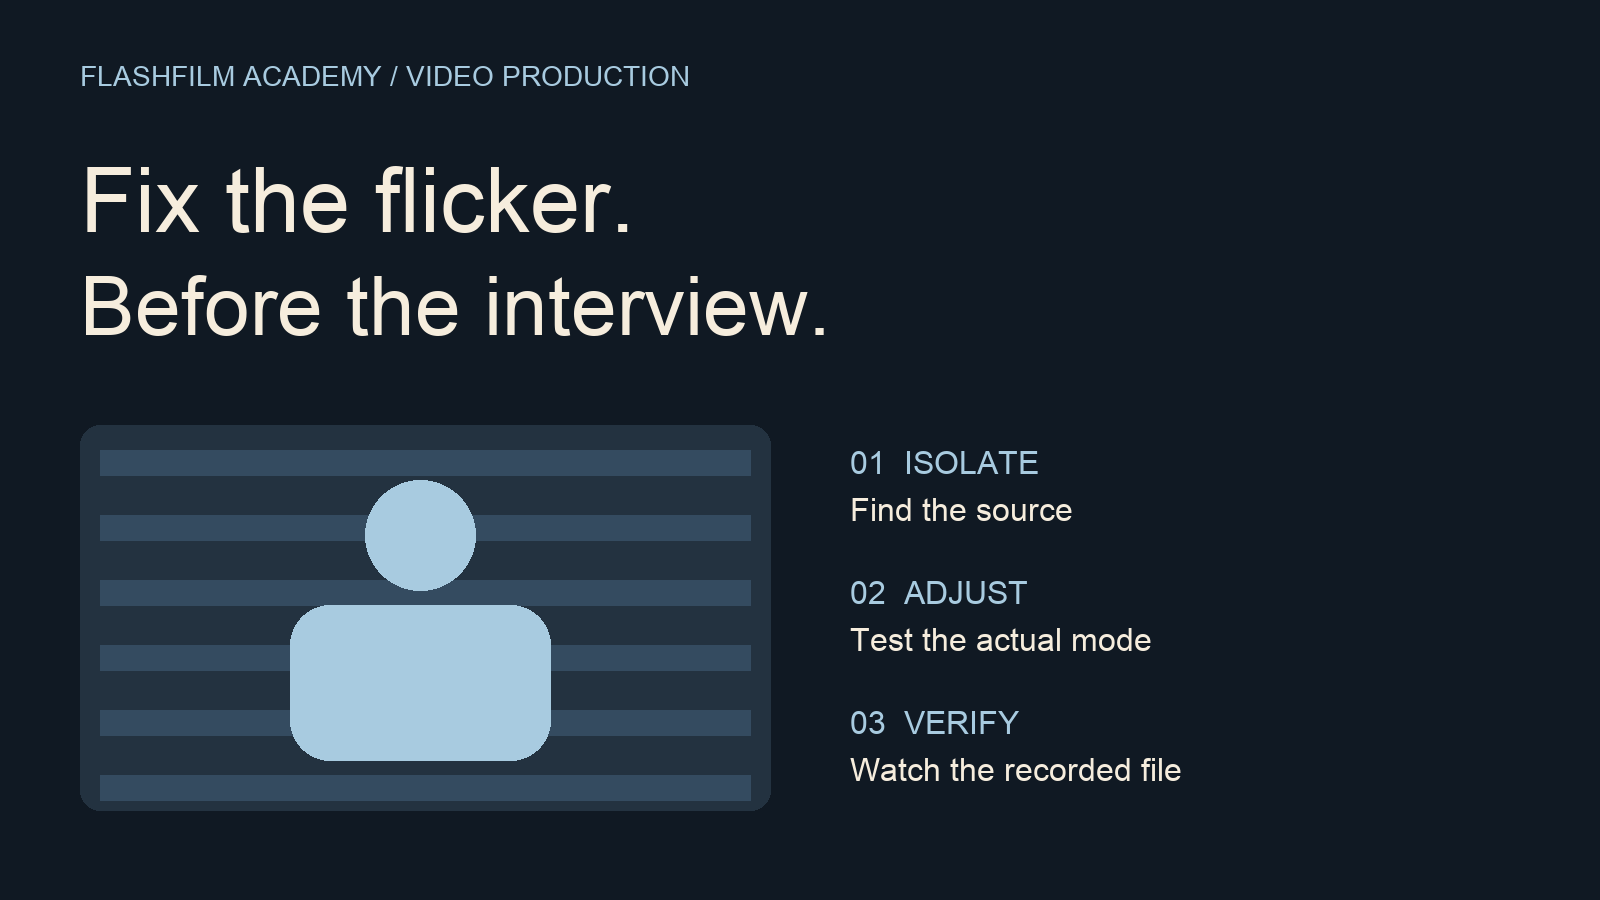
To reduce LED flicker in an interview video, identify which light or screen is causing it, test shutter settings in the recording mode you plan to use, and inspect a recorded clip. If the camera adjustment creates unacceptable motion or does not solve the problem, change the lighting or the composition. There is no single shutter speed that guarantees clean footage under every LED fixture.
This guide is a practical pre-shoot troubleshooting workflow for office interviews, testimonials, and business videos. The goal is to find a repeatable setup before the speaker delivers an answer you cannot easily recreate.
What LED flicker looks like on camera
A problem may appear as brightness pulsing across the picture, moving horizontal bands, or a screen that looks uneven while the rest of the shot seems normal. Start by describing what you see and where it appears. A band across a background display suggests a different first test from the entire room pulsing.
Artificial lights can vary in output over time, and the camera's exposure timing can reveal that variation. Sony documents both flicker reduction and fine shutter adjustment for artificial lighting. Its guidance distinguishes ordinary flicker detection from controls intended to address higher-frequency sources such as LEDs.
Source: Sony α1 Help Guide, Differences between Anti-flicker Shoot. and Variable Shutter — https://helpguide.sony.net/ilc/2040/v1/en/contents/TP1000426660.html
Do not diagnose every horizontal pattern as a lighting problem. If the pattern remains with the suspect light removed, investigate the display, camera settings, or other sources. Compare recorded files rather than relying on a description alone.
1. Make a baseline clip in the actual recording mode
Set the intended frame rate, resolution, shutter setting, and exposure mode before testing. Include the interview background and any practical lamps or screens that will remain in the shot. Keep exposure settings fixed during a comparison so an automatic adjustment does not hide or imitate the change you are testing.
Record a short baseline with both a stationary subject and a little ordinary movement, such as a hand gesture. Label it with the settings and lighting state. This is your reference for judging both flicker and the appearance of motion after you make changes.
For a fictional office setup, a useful note might read: “Test A: main interview mode, overhead lights on, desk lamp on, background monitor on, shutter unchanged.” The note need not be elaborate. It just needs to tell you what was different when you return to a clean-looking take.
2. Isolate the source one change at a time
With the location owner's permission, switch off one ordinary light or screen at a time using its normal controls. Record the same framing after each change. If the bands disappear when a decorative lamp is off, you have a concrete lead. If they remain, restore that lamp and test the next source.
Keep the person and camera in place while comparing. Moving the frame at the same time can remove the visible symptom without identifying its cause. If multiple fixtures contribute, test the combinations you actually intend to use rather than assuming that solving one source solves the room.
For a background display, try recording with the display off, then with it showing the intended content. If only the screen is affected, you may be able to reframe it out or replace its content in the production plan. Do not change venue equipment settings without the responsible person's agreement.
3. Test shutter adjustments and judge the tradeoff
Try a small set of available shutter settings while keeping the frame rate and lighting state consistent. Record each test and note the result. A slower shutter means a longer exposure per frame and can change motion blur; a faster shutter changes the look in the other direction. Evaluate the speaker's gestures as well as the background.
If your camera has a fine or variable shutter control that works in video mode, consult the manual for that model. On Sony's α1 II, the documented Variable Shutter function provides finer shutter adjustments when the exposure mode allows manual shutter control. Sony also warns that the preview and recorded image can differ, particularly at faster shutter speeds, and recommends checking the recorded result.
Source: Sony α1 II Help Guide, Anti-flicker Set. — https://helpguide.sony.net/ilc/2440/v1/en/contents/201h_anti_flicker_setting.html
Do not assume that switching on a setting called “anti-flicker” fixes movies. In the cited Sony models, Anti-flicker Shoot. is a still-photo function, while Variable Shutter has different capabilities. Names and availability vary by camera and recording mode. Confirm what your own camera actually supports.
If a shutter change affects brightness, restore a suitable exposure with the other controls available in your setup and test again. Avoid clipping the background or underexposing the face merely to make the bands harder to notice. The solution needs to preserve a usable interview image.
4. Change the source when camera settings are not enough
If no acceptable shutter setting produces a clean recording, consider switching off the offending practical and lighting the scene with a source you have tested. Reposition the interview, change the background, or remove a problem screen from the frame when that serves the story.
Test any lighting adjustment at the actual setting used for the take. Do not assume a fixture behaves the same way at every brightness setting. If you change its dimmer level or operating mode, make another recording before calling the setup ready.
Keep the production decision proportionate. An office lamp in the far background is rarely worth sacrificing natural-looking movement or delaying the whole interview indefinitely. Explain the options in concrete terms: keep this background with a tested compromise, or choose a cleaner background and preserve the preferred camera settings.
5. Verify every camera and every special recording mode
A clean test on the main camera is not proof that the second camera is clean. Record from each angle using that camera's actual settings, then review the files. Differences in framing can also expose a screen or light that the other angle does not see.
Test slow-motion B-roll separately if you plan to capture it. Do not carry a normal-speed result over to a different recording mode without checking. If the environment cannot support the desired look cleanly, revise that shot rather than expecting the editor to rescue it later.
Review clips at normal playback speed and pause on affected areas when necessary. Look at the face, neutral walls, practical lamps, and displays. Use a screen large enough to reveal bands that can be easy to miss on a small camera monitor.
Keep a simple flicker test log
Use one row per test: clip name; camera and recording mode; shutter setting; lights and screens enabled; visible result; motion acceptable or not; final decision. Mark the winning setup clearly and photograph the ordinary fixture controls if that helps you reproduce it.
After the final setup change, record one more verification clip. This last check matters because a room light may have been turned back on, a display may have changed, or a second camera may have returned to a previous setting.
Make sound checks part of the same preparation window. Our room-tone guide covers a separate interview issue: capturing useful background audio for cleaner edits.
Related guide: How to Record Room Tone for Cleaner Interview Edits — https://flashfilmacademy.com/news/how-to-record-room-tone-interviews
Frequently asked questions
Why can the room look fine to my eyes but flicker in the recording?
The camera samples the scene through repeated exposures rather than seeing it exactly as you do. A light that appears steady to you can still interact badly with the chosen recording settings. Judge the actual clip under the actual lighting.
Is the usual cinematic shutter setting always the right choice?
No. It is a creative starting point, not a guarantee against artificial-light flicker. Test an adjustment, evaluate its motion rendering, and decide whether changing the light would preserve the look more effectively.
Can I fix flicker after the shoot?
Treat postproduction repair as a fallback, not an assured solution. Results depend on the footage and the tool. Test a representative section before committing to a repair, watch for new artifacts, and retain the original file. Preventing the problem on set gives you a clearer delivery path.
Practice before the next paid interview
Use an ordinary room to rehearse the process: establish a baseline, isolate a source, compare camera settings, and verify the final file. Save the notes with your production checklist so you arrive with a method instead of a remembered setting that may not fit the location.
Bring your setup questions to the FlashFilm Academy community. Share the camera mode, the lighting conditions, and what you already tested using a sample you have permission to share. Build the technical judgment that helps you deliver dependable client work.
Join FlashFilm Academy — https://flashfilm.academy/
YOUR NEXT STEP · START FREE
Take one useful step toward a stronger creative business.
Get ten free prompt kits for photographers and videographers. Research buyers, clarify your offer, track hidden work or prepare for shoot day—then check the results against real evidence.
Get the free prompt kitsEnter your email for a free community access invitation and Academy emails. Unsubscribe anytime. Already a member? Open this resource with your existing account.
Build on your first step with structured training and community. Explore Academy membership.
Join the conversation.
Read along, ask a question, or share your experience. Comments are open to active FlashFilm Academy members.
Loading comments…