How to Export Client Photos for Websites: A Practical Checklist
· Ty Turner
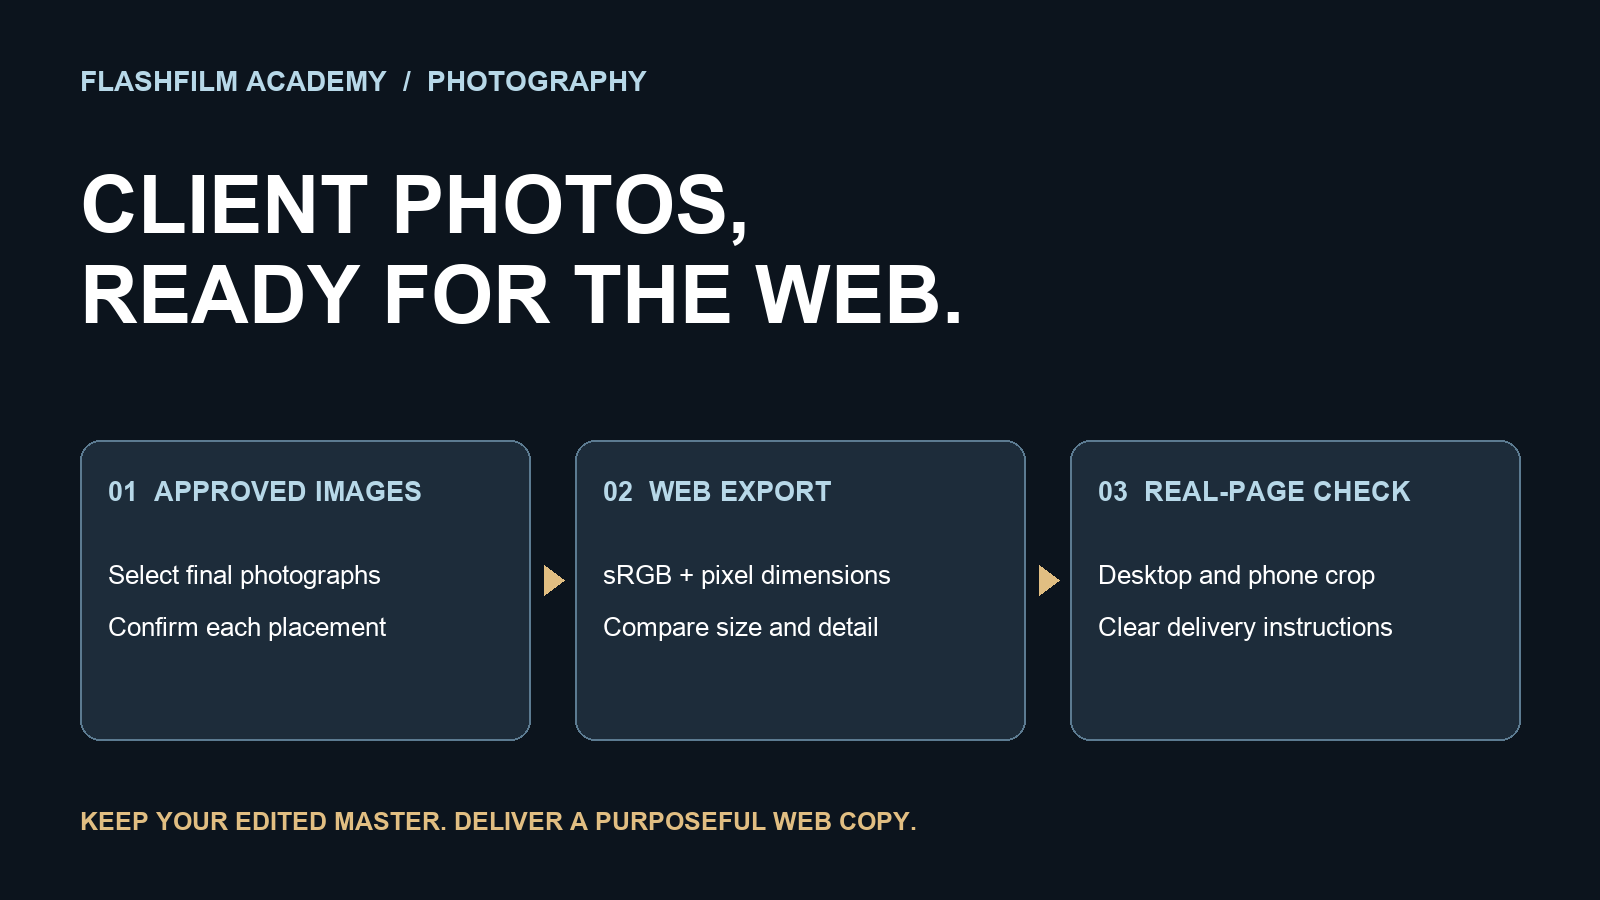
To export client photos for a website, create a separate web-delivery copy, choose dimensions that fit the intended placement, use sRGB for a conventional web workflow, and inspect the uploaded result. Keep your full-resolution edited files separately. The best export is the one that looks right and works on the client's actual page—not the largest file your camera can produce.
This checklist is for photographers delivering headshots, team photographs, and business images to a website owner or designer. The sample settings are starting points for testing, not universal platform requirements. Ask the person building the site for their specifications before exporting an entire gallery.
1. Get the placement brief before choosing an export preset
Ask where each picture will appear: a square staff card, a wide homepage banner, an About page, or a downloadable press kit. Those uses need different framing and sometimes different files. Ask for the image's displayed width, required aspect ratio, accepted file formats, and upload-size limit. Also establish who will upload the files and who approves the final appearance.
A useful question is: Can you send me one example page or screenshot showing the image placement? A designer's answer can reveal that the homepage needs empty space beside the subject for a headline, while the team grid crops every face into a square. Discovering that before delivery is easier than re-exporting a folder after launch.
2. Use a web copy and preserve your edited master
Create two clearly named delivery folders, such as Web and Full-Resolution. Only include the second if it belongs in the agreed scope. Keep working originals and editing files in your own organized archive. Do not mix proofs, rejected frames, and final photographs in the same client download.
Name files so someone outside your studio can identify them: northline-team-jordan-web-v1.jpg is more useful than export-final-final-04.jpg. Northline is a fictional example here. Agree whether employee names are appropriate in public filenames; a neutral staff identifier may be preferable. A short README should explain which folder goes to the website and who should receive questions.
3. Set format, color, and dimensions deliberately
For a conventional website photo handoff, JPEG and sRGB make a useful baseline unless the designer specifies another workflow. Adobe's sharing tutorial recommends sRGB for web photos. That does not guarantee identical appearance on every screen; evaluate the actual destination rather than promising a perfect device-to-device match.
Adobe: Save and share your photos
In Lightroom Classic, use File > Export. Choose the destination, JPEG format, sRGB color space, and the required pixel dimensions in Image Sizing. The Quality control changes JPEG compression; Don't Enlarge prevents the sizing settings from enlarging a small source. Review output sharpening and metadata instead of accepting an old preset without inspection. Adobe documents these controls in its export guide.
Adobe: Lightroom Classic export settings
If there is no supplied specification, compare a few exports rather than treating one number as a rule. For example, test 1,600- and 2,400-pixel-wide versions of a landscape image, each at JPEG quality 75 and 85. Those are this article's trial values, not Adobe requirements. Compare fine hair, fabric, gradients, and file size. Choose the smaller version that still looks good at the intended use size.
4. Do not confuse pixel dimensions with 72 or 300 PPI
A 2,000 × 1,333-pixel image contains the same pixel dimensions whether its resolution metadata says 72 or 300 pixels per inch, provided you do not resample it. Changing that label alone does not create more detail for a web page. Adobe distinguishes pixel dimensions, print resolution, and resampling in the Image Size controls.
Adobe: Image size and resolution
When someone requests a high-resolution image, clarify the use. Ask for a required pixel width for the website; ask for print dimensions and the printer's specifications for a printed piece. These are different deliverables. This simple question prevents a small web file from accidentally becoming the source for a large printed display.
5. Test the crop on the actual page
Export one representative image first and upload it to a preview page. Check a wide desktop layout and a narrow phone layout. Look for cut-off hair, missing hands, awkward empty space, and text covering faces. For team portraits, compare eye height and head size across the grid instead of reviewing each photo in isolation.
If the source file looks correct but the page looks wrong, check the site's crop and image-container behavior before repeatedly re-editing the photograph. A tall portrait placed in a wide banner may need a different composition. Ask the designer whether separate mobile and desktop crops are supported; do not assume that capability exists.
6. Make the handoff easy to use
Deliver only the approved images, identify the selected crop, and include a concise use note. For example: Web contains the approved website versions; do not use these reduced files for large prints. Homepage image 03 leaves space on the left for your headline. Please check the phone crop before launch. Replace these example details with the project's actual agreement.
Provide factual caption or alt-text suggestions when they help the website owner. Describe the photograph's purpose in context, and avoid stuffing it with service keywords or invented identities. Confirm that the client has approved which people and locations appear. Image metadata is not a substitute for clear delivery instructions or the agreed usage terms.
A ten-minute export test before you send the gallery
Choose one portrait, one detailed scene, and one image with a smooth background. Export your test versions into separate folders. Open them outside the editing application, compare them at the expected display size, and upload the chosen files to a preview page. Ask the person receiving the gallery to confirm that the filenames and folder instructions make sense. Then export the complete approved set using the checked settings.
This review is part of delivering a usable product. A client should not need to guess which file belongs on the website, which one can be printed, or why the homepage has cropped the subject's head. Record the accepted settings so the next shoot for that client starts with a documented requirement.
Frequently asked questions
Is there one best JPEG quality setting for every website?
No. Compare a small set of exports using the actual photographs and destination. The trial settings above are a repeatable comparison method, not a guarantee of a particular file size or appearance.
Should I send the biggest files available?
Send the files the client needs for the agreed uses. Keep full-resolution delivery separate from website versions, and label both clearly. A larger download is not automatically a more useful handoff.
Should I enable HDR for routine client website photos?
Confirm that the client's publishing and viewing workflow supports the intended result before choosing HDR delivery. For an ordinary SDR handoff, keep your test and approval process in SDR. Do not change the delivery standard simply because a new export option is available.
Practice the whole photography workflow
Export is the last part of a chain that begins with exposure, composition, and lighting. Explore the Photography 101 challenge preview for a structured practice path, then bring an export question or a permissioned example into the FlashFilm Academy community. Include the intended placement and pixel dimensions when asking for feedback so the discussion leads to a useful correction.
Explore the Photography 101 challenge
Join the FlashFilm Academy community
YOUR NEXT STEP · START FREE
Take one useful step toward a stronger creative business.
Get ten free prompt kits for photographers and videographers. Research buyers, clarify your offer, track hidden work or prepare for shoot day—then check the results against real evidence.
Get the free prompt kitsEnter your email for a free community access invitation and Academy emails. Unsubscribe anytime. Already a member? Open this resource with your existing account.
Build on your first step with structured training and community. Explore Academy membership.
Join the conversation.
Read along, ask a question, or share your experience. Comments are open to active FlashFilm Academy members.
Loading comments…